Installation
WebIOPi is developed and tested on Raspbian. You only need Python, either 2.7 or 3.2. Download, then extract and install WebIOPi. The setup script will automatically download and install required dependencies using apt-get. You may have to manually install GCC and Python development headers if you are not using Raspbian.
Upgrade note: Stop your existing WebIOPi service, then process with the setup. Your configuration will be kept but others files will be override.
See downloads page to get latest package, and adapt x.y.z with the version you download.
$ tar xvzf WebIOPi-x.y.z.tar.gz
$ cd WebIOPi-x.y.z
$ sudo ./setup.sh
Setup may take a moment.
Running WebIOPi
Finally, use webiopi command :
$ sudo webiopi [-h] [-c config] [-l log] [-s script] [-d] [port]

    Options:
      -h, --help           Display this help
      -c, --config  file   Load config from file
      -l, --log     file   Log to file
      -s, --script  file   Load script from file
      -d, --debug          Enable DEBUG

    Arguments:
      port                 Port to bind the HTTP Server
For instance, to start with verbose output and the default config file :
$ sudo webiopi -d -c /etc/webiopi/configYou're done, and ready to enjoy WebIOPi ! But the server and GPIO state will be lost when you'll stop the script (CTRL-C) or close the terminal.
Running WebIOPi (Daemon)
You can also start/stop the background service, the configuration will be loaded from /etc/webiopi/config.
$ sudo /etc/init.d/webiopi start$ sudo /etc/init.d/webiopi stopAuto start at boot
To setup your system to start webiopi at boot :
$ sudo update-rc.d webiopi defaultsTo remove webiopi start from boot :
$ sudo update-rc.d webiopi removeAccess WebIOPi over local network
If your Raspberry Pi is connected to your network, you can open a browser to https://raspberrypi:8000/ with any device of your network. Replace raspberrypi by its IP.
Default user is "webiopi" and password is "raspberry"
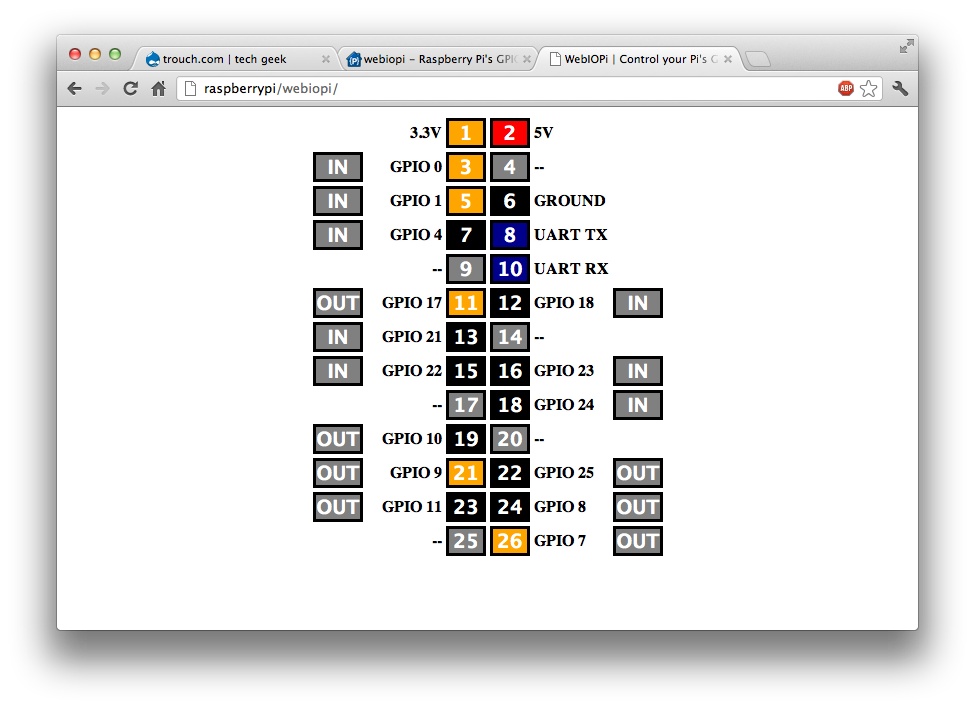
By choosing the GPIO Header link on the main page, you will be able to control GPIO using a web UI which looks like the board header.
- Click/Tap the OUT/IN button to change GPIO direction.
- Click/Tap pins to change the GPIO output state.
Access WebIOPi over Internet
Thanks to Weaved IoT Kit, it's easy to access your Raspberry from anywhere in a secure fashion.
Register on the Weaved developper portal
Go to https://developer.weaved.com/portal/ and follow instruction to create an account.
Download Weaved for Raspberry Pi
Copy and paste the command line below into a terminal window or SSH client connected to your Raspberry Pi, then hit the Enter key.
wget https://github.com/weaved/installer/raw/master/binaries/weaved-nixinstaller_1.2.5.binInstall Weaved
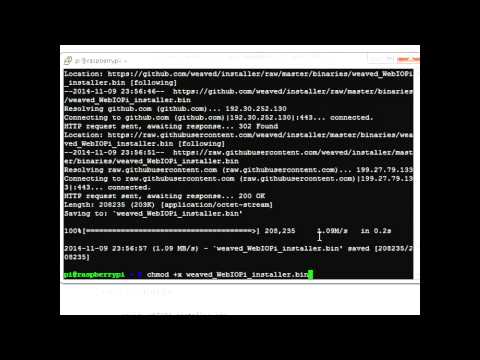
Make the installer executable:
chmod +x weaved-nixinstaller_1.2.5.binLaunch the installer:
./weaved-nixinstaller_1.2.5.binEnter the e-mail address and password for your Weaved account.

When asked, choose WebIOPi during the install process. then enter an alias, or nickname for your device.

Note: If you run the installation more than once, you'll get this question.

Support of multiple services is not fully tested in 1.2.5. We recommend that you answer 'y' here to remove the previous installation before proceeding.
Test your setup
To test the connection to your Raspberry Pi from your browser, go to the device list, find the line with your Raspberry Pi's alias, and click on “Connect”. Your device's internet address will be shown in the area blurred below.